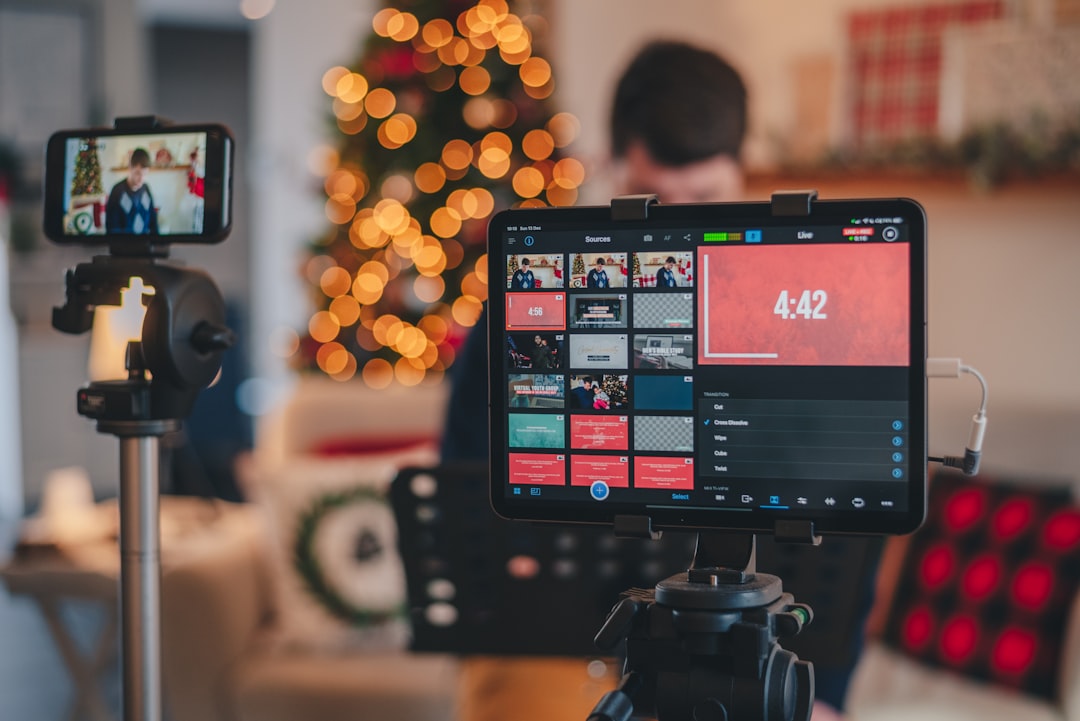
Stream audio problems are usually easier to solve when you isolate one signal path at a time. This guide gives you a repeatable workflow for diagnosing a microphone that is not reaching the stream, desktop audio that is missing, echo caused by monitoring or duplicate devices, distorted sound, and audio that drifts out of sync. It also shows what to track during sound checks so recurring problems can be identified before a live event.
Overview
Audio passes through several points before viewers hear it: the physical microphone or application source, the operating system, your streaming software, the platform encoder, and the viewer’s playback device. A problem at any point can produce similar symptoms. For example, “my mic is not working on stream” may mean the microphone is muted in the operating system, the wrong device is selected in OBS, the source is hidden from the mixer, or the platform is receiving a different scene than the one being tested.
Start with a short local recording rather than troubleshooting during a live broadcast. In OBS, confirm that the intended microphone and desktop audio sources appear in the Audio Mixer, then record 30 to 60 seconds while speaking, playing system audio, and switching between the scenes you use most often. Review the recording with headphones. This separates local configuration issues from platform-specific issues and gives you a reference for volume, noise, echo, and sync.
Change one setting at a time and write down what you changed. A simple troubleshooting log should include the date, microphone, interface or capture card, operating-system input, streaming software version, sample rate, scene, filters, and the symptom observed. This is more useful than repeatedly resetting settings because it preserves a working baseline.
What to track
Signal selection and mute state
First verify that the correct physical device is selected everywhere it can be selected. Check the microphone’s hardware mute button, interface gain, operating-system input permissions, and the input device chosen in the streaming application. In OBS, inspect both the global audio settings and any audio source attached to a particular scene. A scene-specific source can continue using an older microphone even after the global device has been changed.
Track whether the source meter moves when you speak. If there is no meter activity, the problem is upstream of the stream mix. If the meter moves but the recording is silent, check source muting, mixer faders, track assignments, and monitoring settings. If the recording works but the live platform does not, test the platform’s audio preview and confirm that the intended scene and stream output are active.
Volume, gain, and noise
Record the approximate position of the microphone and the gain setting on an audio interface. Keep the microphone close enough for a clear voice, but avoid increasing gain to compensate for excessive distance. Watch the mixer while speaking at a normal level and at the loudest level expected during the event. A meter that reaches its maximum indicates clipping risk; distortion introduced at the microphone or interface generally cannot be removed later.
Track noise suppression, noise gates, compressors, and limiters in the order they appear in your signal chain. A gate set too aggressively can cut off the beginning or end of words. Heavy noise suppression can make speech sound metallic or intermittent. A compressor can make a quiet voice more consistent, but excessive compression can raise background noise and reduce natural dynamics. Test filters with headphones and a recording rather than relying only on the mixer meter.
Sample rate and channel layout
When a microphone, audio interface, capture card, and streaming application use different sample-rate settings, you may hear clicks, crackles, unexpected silence, or gradual sync problems. Use a consistent sample rate across the operating system, audio interface control panel, and streaming software where those options are available. Also check whether a device is configured for mono or stereo. A voice microphone connected to only one channel can sound unusually quiet or appear to disappear when a stereo source is handled incorrectly.
Desktop, browser, and application audio
Desktop audio may come from the default operating-system output, a specific application capture, a browser tab, or a capture card. Identify which route your stream uses and avoid capturing the same sound through two routes. For example, game audio can be duplicated if it is included in both desktop audio and an application or capture-card source.
When browser audio is missing, confirm that the correct browser tab or window is being captured, the tab is not muted, and the browser is sending sound to the output device monitored by the streaming software. A media player or meeting application may also have its own output selection. Test one application at a time before adding more sources.
Monitoring and echo
Echo usually indicates that the same sound is being heard or captured more than once. Common causes include monitoring a microphone through both the audio interface and OBS, playing stream audio through speakers while the microphone is open, or capturing a meeting participant’s voice through both desktop audio and a microphone placed near the speakers.
Use headphones during sound checks. In OBS, review each source’s monitoring mode and monitor only the signals that need to be heard locally. Do not monitor the stream output into the same microphone path. If viewers report a delayed repeat of your voice, mute every monitoring route and restore them one at a time. For meeting-based broadcasts, the platform’s own echo-cancellation controls may interact with your streaming software, so test the complete call and stream arrangement together.
Delay and lip-sync
Track whether the delay affects the microphone, video, desktop audio, or only the platform preview. A camera may reach the encoder later than a microphone, while a capture card may introduce its own processing delay. If speech arrives before the speaker’s lips move, add a small delay to the earlier audio path. If the picture arrives first, investigate audio buffering or device processing before changing the video.
Make adjustments using a recording of a visible hand clap or another sharp, repeatable sound. Compare the sound spike with the matching video frame, then retest after changing one device or filter. If sync drifts over time rather than remaining consistently offset, suspect mismatched clocks, sample rates, overloaded hardware, or an unstable capture path. For broader stream diagnosis, use the live stream quality troubleshooting decision tree.
Cadence and checkpoints
Run a complete audio check before every live event, even when the setup has not changed. Devices can reconnect in a different order, operating-system updates can change default inputs, and a new USB connection can cause software to select another device. A practical pre-show check takes only a few minutes:
- Connect the microphone, interface, headphones, capture card, and other audio devices before opening the streaming software.
- Confirm the selected input and output devices in the operating system and streaming application.
- Speak at normal and peak volume while checking the mixer meter for movement and clipping.
- Play desktop and browser audio separately to confirm that each intended source is present only once.
- Record a short clip, then listen for hum, distortion, echo, excessive processing, and sync errors.
- Check the live platform preview or a private test destination when the event setup permits it.
Review your audio configuration monthly for frequently used streams and before major streaming seasons or important events. Recheck it after replacing a microphone, adding a capture card, changing scenes, installing audio software, updating device drivers, or moving from headphones to speakers. Keep a known-good test scene with one microphone and one desktop-audio source. It provides a clean baseline when a larger production scene becomes difficult to diagnose.
For multi-person productions, assign one person to monitor audio during rehearsal and the event. Pair the check with a broader live webinar checklist or the live event technical runbook so audio checks, escalation contacts, and backup actions are documented together.
How to interpret changes
If the microphone is silent in every application, begin with the physical connection, mute state, permissions, and operating-system input. If it works in a voice recorder but not in OBS, inspect the selected source, scene, filters, and mixer tracks. If it works in a local recording but not for viewers, compare the platform preview with the local file and verify the stream output or broadcast scene.
If only desktop audio is missing, test the operating-system output device and the specific application route. If all audio is duplicated, remove duplicate capture sources before changing volume. If the echo appears only when a guest joins, have the guest use headphones and check whether the call audio is being captured through more than one path. If audio is distorted, lower the hardware gain first; adding filters will not repair clipped input.
If sound is consistently early or late, use a fixed offset after measuring it. If the offset changes during a recording, do not treat it as a simple delay problem. Check sample-rate consistency, CPU load, capture-card behavior, and long-running device stability. When video problems accompany the audio issue, review the OBS encoder overloaded fix guide, since system load can affect the complete stream pipeline.
Keep before-and-after recordings when you solve a recurring problem. Comparing them helps distinguish a lasting fix from a temporary improvement and gives teammates a concrete reference for the correct sound. If a device repeatedly disappears or changes behavior, document its model, connection type, drivers, and compatibility notes; the streaming setup compatibility guide can help organize that inventory.
When to revisit
Revisit this guide before each important broadcast, on a monthly or quarterly maintenance schedule, and whenever viewers report low volume, echo, crackling, missing desktop audio, or lip-sync problems. Update your internal notes when the streaming application changes its audio menus, a device driver changes, a new microphone or capture card is added, or a platform changes its preview and monitoring behavior. Menu names and filter availability can vary by software version, so confirm the path in the version you actually use rather than relying on an old screenshot.
After an incident, record the symptom, time, scene, devices in use, recent changes, test recording, and confirmed fix. Then add one preventive checkpoint to the next sound check. For example, if a browser update redirected audio to another output, make browser output selection part of the pre-show checklist. If echo came from a second monitoring route, label the monitoring device and document who controls it.
Before going live, aim for a known-good recording rather than perfecting every setting. Confirm one clear microphone path, one copy of each desktop source, no audible echo, acceptable headroom, and stable sync. If the issue remains unclear, simplify the setup: remove optional filters and sources, test the microphone alone, then add components back one at a time. This method keeps streaming troubleshooting focused and gives you a reliable path back to stable audio.